how to make a hair bow with ribbon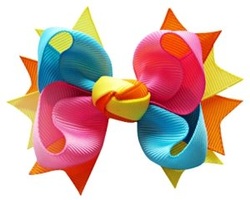 How To Make A Hair Bow With Ribbon How To Make A Hair Bow With Ribbon
When you are first learning how to make a hair bow, it is very helpful to have a guide or instructions.
Don't Forget... Claim Your Free Hair Bow Lesson Now! Being able to see what the finished product will look like is imperative to having the bow turn out the way you want it to. And don't fret getting them "just so" takes some practice. Signing up for free hair bow making instructions will definitely cut your learning curve and provide you with the step by step instructions you need to be successful right away. As you are learning how to make boutique hair bows, consider starting out with these three popular hair bow styles. |
Sign Up...
For Hair Bows Updates & Specials...
|
How To Make A Hair bow... korker Hair Bows
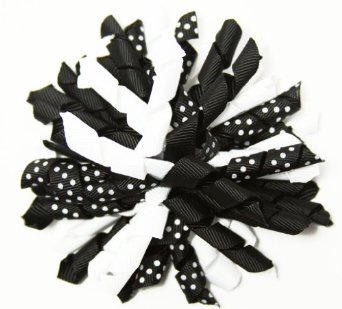
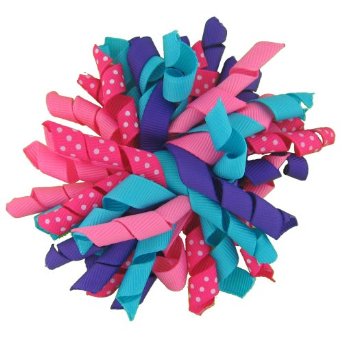
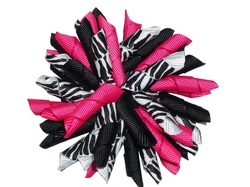 Korker Hair Bows
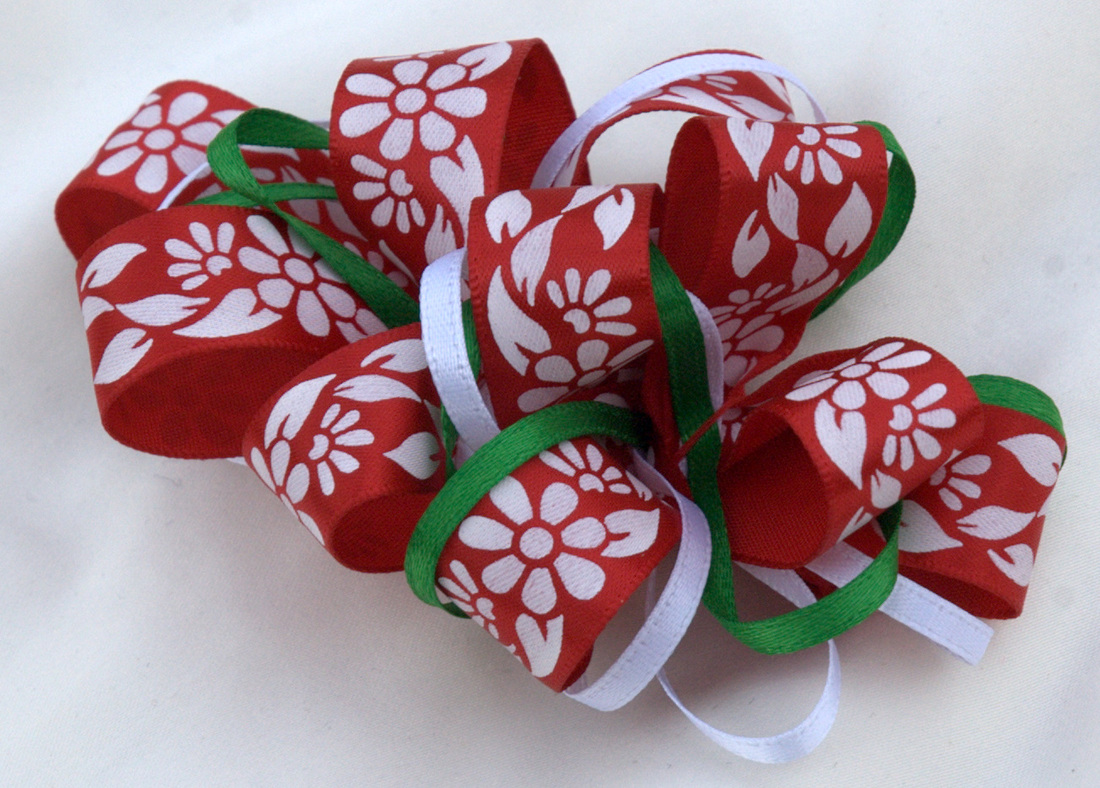
The Korker Bow is easy to make.
It is more casual in appearance and is great for every day wear. It is also the most popular style for cheer hair bows, marching bands, Girl Scouts or other athletic activities. Grosgrain ribbon works best for this style.
Start by cutting strips of ribbon and wrapping them individually around wooden doll rods, securing the ends with clothes pins. Place them on a cookie sheet and bake in the oven at 275 degrees for 25 minutes. After they cool they will be formed into permanent spirals.
Lay a piece of thread on the table and then arrange the spirals on top of the thread, one on top of the other, in different directions. When the bow is full enough, tie the thread around the middle of the pile. Attach the whole bow to a clip or elastic band.
how to make a hair bow... A Pinwheel bow
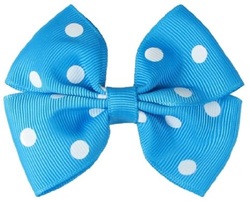 Learn To Make A Pinwheel Hair Bow
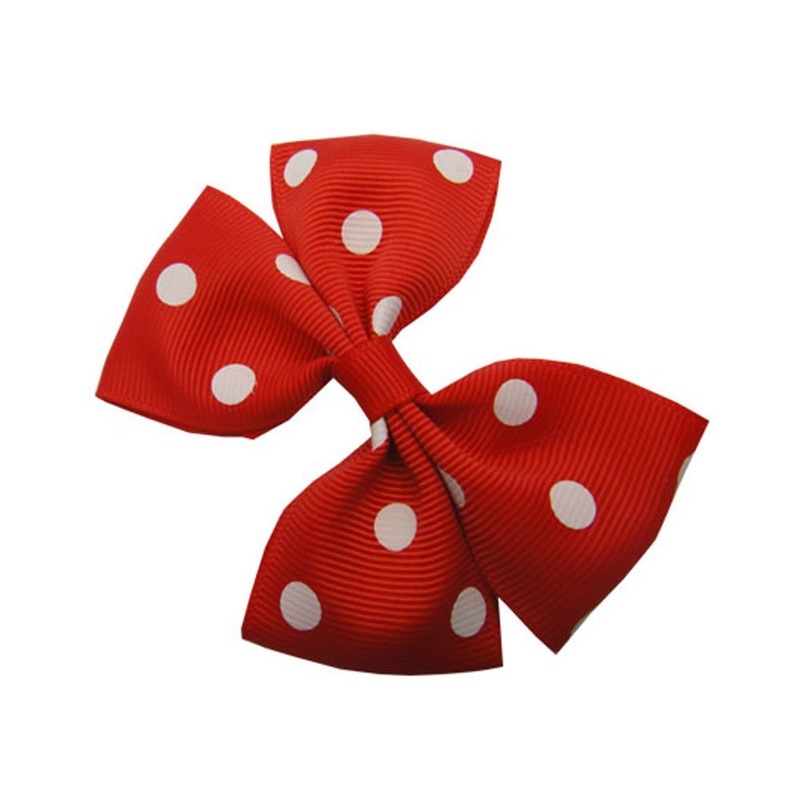
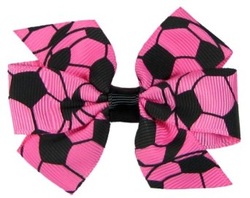
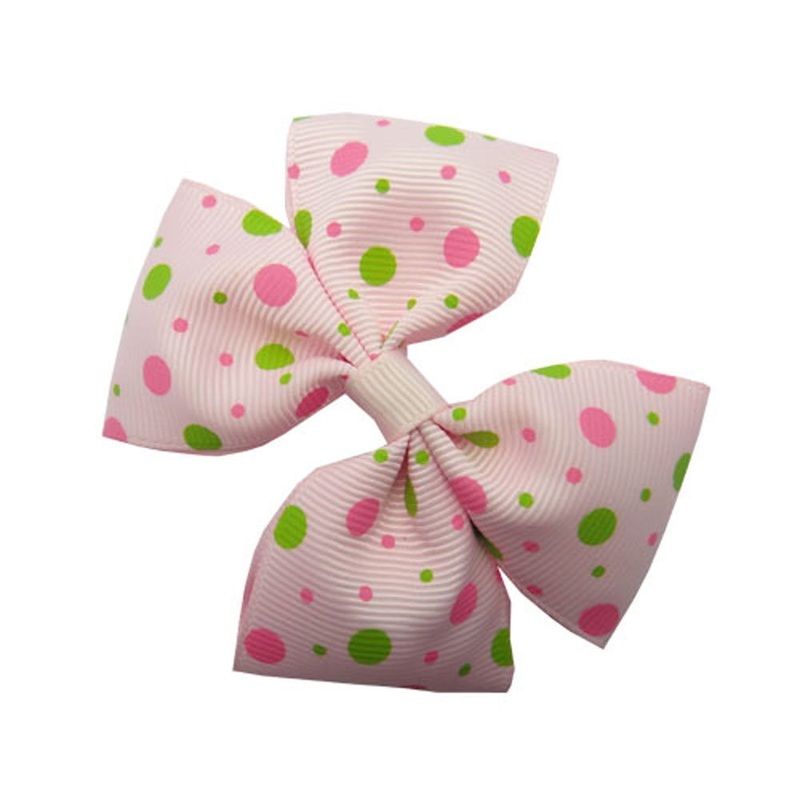
Another popular style for boutique hair bows is the pinwheel.
It usually consists of four loops secured in the center.
Lay the ribbon on the table and loop it back and forth on top of itself until you have four loops. Then take one of the ends and wrap it around the middle to tie it all together.
The hard part is knowing how big to make the loops so that you still have enough of the "tail" left to tie around the center.
NOTE... For this step an alternate method is to use a second smaller piece of ribbon to do this. Just wrap it around the center and sew closed as you would when you making hair bows with fabric.
The good news is that you will not wrinkle your ribbon if you need to start over. So don't fret and remember… "Practice Makes Perfect! "
Once you have tied it, take your scissors and make a "V" shaped cut in the "tails." This will add a nice finished look. And don't forget to use fray check or heat seal your ends with a candle or other small flame.
Grosgrain, taffeta or velvet works best for this bow because it will be stiff and keep its shape.
Pinwheels can vary in size making them a very versatile style and they can be worn anywhere for any occasion.
They work especially well for two pony tails or two braids. Just be sure to make them the same size so that they match. Larger pinwheels are easier to make when you are first learning.
how to make a hair bow... a boutique layered bow
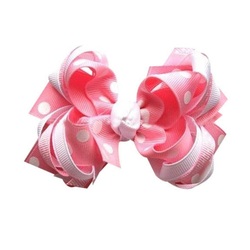 How To Make A Layered Hair Bow
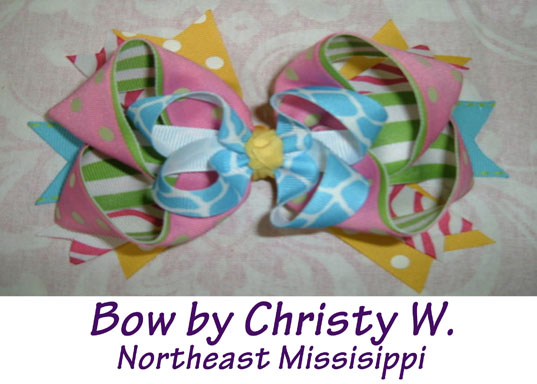
A layered hair bow is probably the most complicated to make when you are first learning.
You start the same way you do for a pinwheel, but after you make the first loop, you twist the ribbon before making the next loop. You continue making a loop and then twist, loop, then twist, until you run out of ribbon.
Secure the bow in the center by making a small loop over your thumb. Slide a piece of wire or thread through the "thumb loop" to secure the whole thing.
Ribbons that have a shiny front and then a dull backside, such as velvet or satin, make great layered bows because of the two-toned color effect.
These types of bows are beautiful and elegant making them perfect for holidays and special occasions. Layered bows look stunning when the hair is pulled back from the face and left down rather than in a pony tail.
With some patience and practice you will see that it is easy to learn how to make a hair bow in these three popular styles . In no time at all you can become a master. Where you go from there is entirely up to you!
